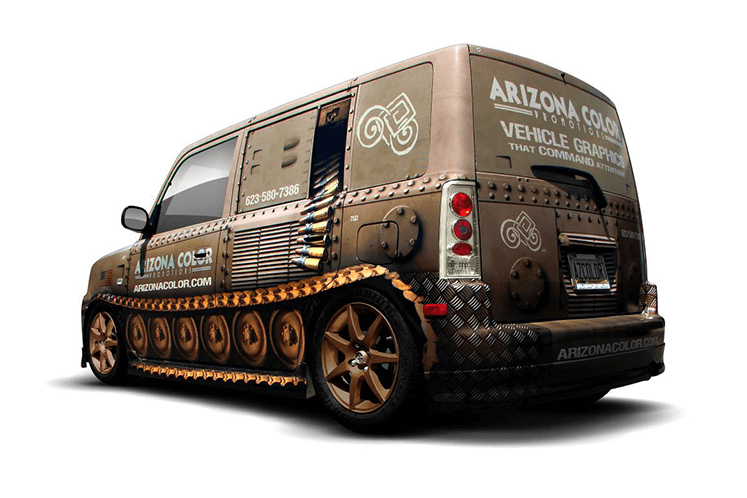
Hammer? Check. Nails? Check. Phillips and flathead screwdrivers? Oops! Oh I’m sorry—that was the carpenter’s tool bag. But what about the wrap designer’s tool bag? Hmm … Do we even have those?
Chances are you can list the most common tools used for carpentry or sign making or other skilled trades—and for many of these, the tools are incredibly iconic. Tradesmen these days can be recognized for what they do solely by the items in their tool bag.
I would consider a vehicle wrap designer to be a skilled tradesman as well. But what sort of tools does one find in that line of work? There certainly isn’t much visible evidence—we designers don’t have tool belts strapped around our waists like installers might. But without a doubt we do have our own unique set of tools, many of which are intangible. Here’s a look at what’s in the wrap designer’s tool bag.

The Creative Brief
The first tool that we wrap designers need is often handed to us by a co-worker: It’s the all-important Creative Brief. This can really set the tone for a project from the start and save you a lot of grief. A proper creative brief should include the client’s ultimate expectations for the design. This may be a specific themed wrap, or something that perpetuates an established brand. A good, clear brief is crucial to success. Any doubt in what the client expects from you will likely lead to trouble.
It’s best to try and weed through clients’ vague statements such as “Just wow me!” or “Make it pop!” You need to get to the bottom of what they are truly after. Let’s be honest: not all customers are able to articulate what they want in a wrap, so part of our repertoire as designers (or whoever is providing the creative brief) should be to help guide the client toward a specific and realistic vision—one that carries specific expectations.
Templates
Once you have a design goal established, our next tool will be very handy—in fact it’s absolutely necessary. I’m talking, of course, about vehicle templates. There are three varieties of this tool out there that come to mind: outline templates, photographic templates and home-made templates. Which is the best one for you? I can see pros and cons with each of them, and I’ve used them all at one time or another.
I typically reach for the templates such as Bad Wrap or Art Station Vehicle Templates first, because they require the least amount of preparation and present a nice proof. If that is unavailable, I will then go for an outline template such as Pro Vehicle Outlines, which may require some prep work to get it scaled and ready to go, but is also a solid option. Lastly, I build my own template, but I no longer build my own templates from scratch unless it is a specialty vehicle with no available template (this will happen occasionally, so it’s a good skill to have).
Are templates reliable? In a perfect world, any of these templates would be free of inaccuracy, but we all know that is not 100 percent true. That is why I recommend that every wrap designer also carry a soft tape measure in their “tool bag.” This is especially handy for creating your own templates or cross-checking pre-built ones.
Over a period of time, use your soft tape measure to help bridge the gap in your mind between a 2-D template and a 3-D object. Go out to the vehicle, whenever possible, and cross-check your template and design elements in key areas. This will allow you to push the limits of how and where to place these elements safely. Don’t stop there. Follow up on your placement decisions once the wrap has been installed to see how they worked out and if anything can be learned or improved for the next time.
How much more confidently can you design, when you know exactly how the printed graphic will fall on the vehicle? I truly believe that if more wrap designers were taught to do this, there would be much less reckless placement of crucial design elements on wraps.
Software
Software is the next tool to reach for. For some of you, your choice in template might dictate the software that you use to create your wrap design. I have designed wraps using both Adobe Illustrator and Adobe Photoshop. Depending on what your design calls for (and which template you are using), it may make sense to design in Illustrator. Personally, I tend to prefer designing in Photoshop with Illustrator in tandem, bringing in vector elements as Smart Objects. I find that Photoshop is much more versatile for this task, and with adequate processing power in your design-station, your rendering time should not be any hindrance.
For this task, I really have to recommend a design computer from SignBurst PC. I recently purchased the “Inferno” model after much resistance, and have been more than happy with its performance. I’m actually kicking myself for not getting one sooner, as the amount of time it saves me in opening, saving, and rendering files easily pays for the machine.
Digital Morgue
For those who do not have one, you really should start building a Digital Morgue. This is a place (a folder or set of folders) to store your digital resources, such as vector objects, stock images or maybe even unused pieces from another project that may come in handy later. There are so many free resources out there right now that it is mind-boggling. Whenever I am sourcing files for a project and I come across something that I think would be of use later, I will add it to my morgue. Several popular stock photography sites will offer a “Free Photo of the Week” or “Vector of the Month.” I have been saving these for years now (along with purchased items that have been used for other projects) and have amassed quite the pool of resources to draw from. This does not excuse you from actually creating your own designs, but is more of a time-saving mechanism. Be sure to keep your morgue organized or you may have difficulty remembering what you have.
"For those who do not have one, you really should start building a Digital Morgue."
Source of Inspiration
The next tool on my list, I will call the Source of Inspiration, and for each designer, it may be shaped differently. As creative individuals, we are asked to create hour-after-hour, day-after-day. Sooner or later, the well will run dry. It is sometimes referred to as designer’s block. There is no avoiding it.
This tool is personal and is something you will have to hone in on. It may be a specific routine that you come up with to reignite your creative drive. Perhaps walking away from a project for a while will grant you a fresh perspective. For some it may be simply listening to your favorite music. For me, all of these are true and inspiration often comes from looking at the work of other designers. We all feed off of each other—admit it or not. Try to keep a running tab in your mind of different design ideas that you come across and wish to experiment with sometime in the future. It can certainly be refreshing to see things from another designer’s point of view. It will broaden your design-sense. I recommend bookmarking some inspirational blogs or websites that you can visit during those times when you find yourself in a design rut.
Fonts
What are all those jingling things at the bottom of the tool bag, you ask? Fonts, of course! What can I say about these tricky resources? For being such little tiny things, they are quite powerful. They can uplift and change the entire mood or feeling of a message—or they can drag the most amazing design right down into the gutter. But fear not. For every situation, there is a perfect font. You just have to be able to find and recognize it—which can potentially be the hardest parts of designing your wrap. I must say that having a font-organizing program is extremely helpful in keeping track of them all. I also suggest occasionally rotating your selection of installed fonts (minus the staples) so that you don’t get in a habit of using the same fonts over and over. I sometimes catch myself getting lazy in this regard and it can get in the way of us creating some of our best designs.
The Wand of Guidance
Lastly, I will bring up another tool that we designers can use—and it shall be dubbed The Wand of Guidance (or Persuasion). It’s most effective when subtly waved over our clients. Assuming you are up to par on what is considered “good design,” you should feel comfortable offering your input on the designs you are providing, or the changes you may be asked to make. For example: You submit a proof to your client who just asked you to “Make everything bigger!” But instead of blindly going along with it, you kindly point out that you only have so much room before the logo gets cut off on the fender or that the phone number does not need to be the entire length of the vehicle. The key here is to explain your reasoning for not fulfilling the request.
If they are told it can’t or shouldn’t be done, most clients will yield to your expertise. Using this tool will help to establish that you are not merely a button-clicker, and your ability to voice reasoning and purpose for all of your design decisions (if questioned) will usually instill trust on the part of your client. Some will require and appreciate that extra bit of guidance.
Being aware of the tools of our trade allows us to use them more effectively. You likely have some tools of your own that I did not mention. Now that your job is done, you will soon get to see the results of your hard work as the vehicle is transformed by your work of art.
Here’s hoping that there won’t be any call-backs due to a poorly fitted font or a leaky template. Time to cinch up your tool bag and on to the next one!
Article written by Stephen Sinek and reposted with permission from Sign & Digital Graphics.


