Entrepreneurs worldwide are generating income through the production of vinyl lettering for windows and doors and vehicle graphics. Usually, these entrepreneurs use a vinyl cutter or Summa plotter to create their products. This user-friendly technology is easy to master and can be used to manufacture a diverse array of products.
Vinyl cutters are commonly used in the sign-making industry, as well as in the creation of labels, decals, and other graphic design projects. In this article, we'll offer a step-by-step guide on how to use a popular vinyl cutter offered by Summa Equipment.

What Is Vinyl Cutting?
Vinyl cutting involves precisely cutting graphics, letters, and other vector-based designs from a material using a plotter machine, which is often simply called the 'cutter.'
What Do You Need for Vinyl Cutting?
The items that you need for vinyl cutting include:
A Cutter
Although you can use a plotter machine to cut various materials, vinyl is the most frequently used option. The material is fed into and out of the device from rollers while a blade moves back and forth, cutting the vinyl following a digital graphic design.
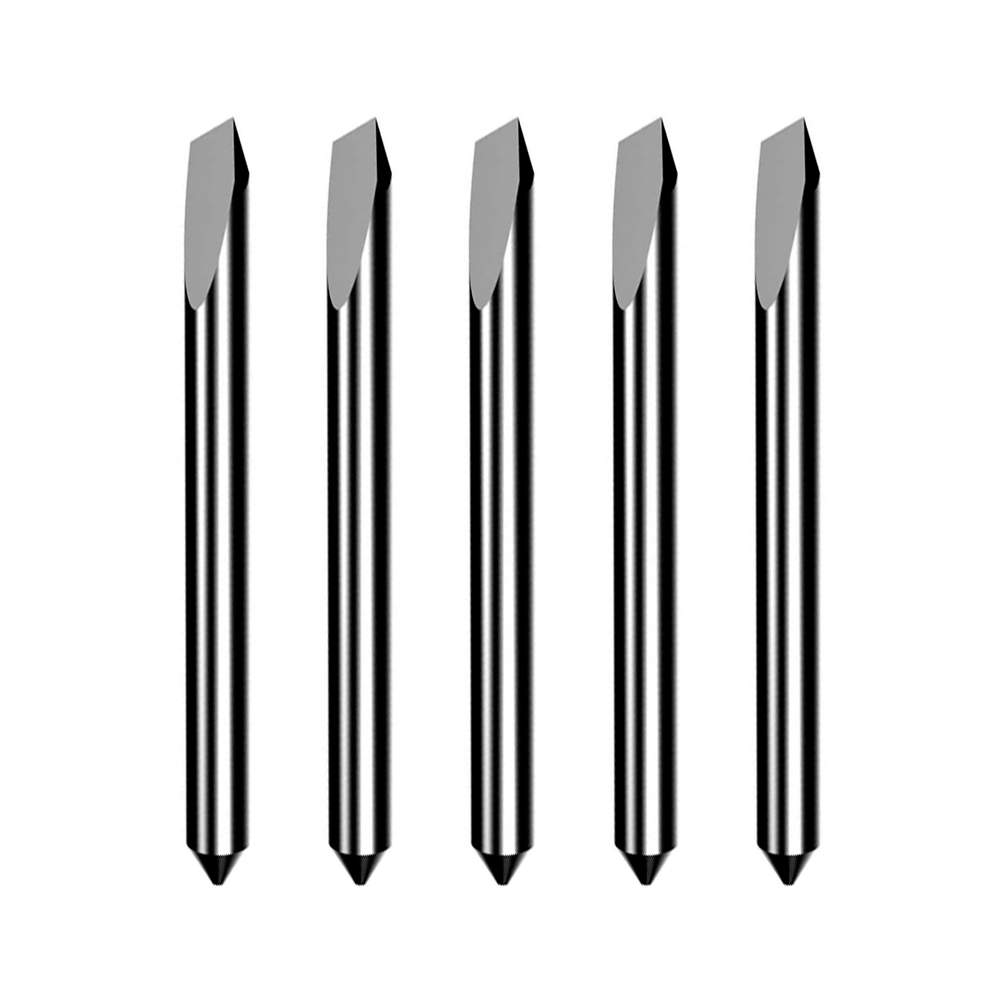
Cutting Blades
No single blade can cut every type of material. To properly cut various materials, you will need to obtain the appropriate blade based on the thickness or durability of the material and understand the thickness that vinyl cutters can cut.
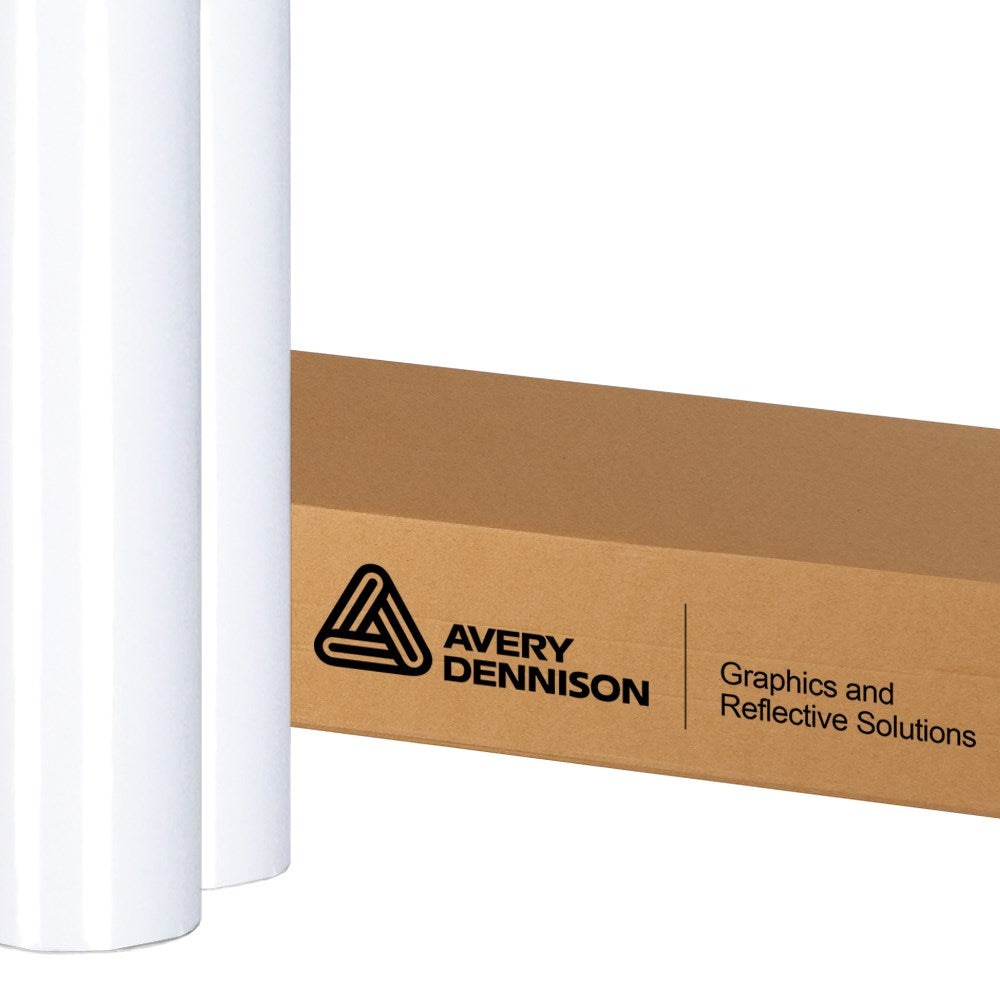
Material
The materials used in vinyl cutting vary based on the desired outcome. For instance, white or black adhesive vinyl is ideal for producing lettering for door signs, whereas colored vinyl is more suitable for creating intricate graphics. On the other hand, frosted vinyl is a popular choice for window graphics.
Space to Work
Desktop vinyl cutters have a small footprint, and even larger-format cutters are relatively compact. It is advisable to have a bench or table where you can cleanly prepare and apply your cut vinyl, as well as a clean, dust-free area to store your media and any additional equipment required.
A Computer
A vinyl cutter operates solely on digital information-a computer is necessary to transmit the data. Generally, the sign-making software required for vinyl cutting is simple and does not require high processing power. Therefore, you can use a standard computer for your designs and data transmission.
Vector Design Software
The majority of cutting plotters use vector graphics information in PDF, EPS, or SVG formats. If your requirements are limited to producing lettering or basic shapes, there are pre-made designs or free software options from Simma Equipment that can help get you started.
Additional Tools
Depending on your work, such as contour cutting on a vinyl cutter, other tools you might need include scalpels, weeding tools, application tape, and squeegees.
Steps for Using a Vinyl Cutter
You can effectively use the vinyl cutter by following these six steps:
Step 1: Prepare Your Design
The first step in using a vinyl cutter is to prepare your design using specialized sign-making software, such as Summa's GoProduce or GoSign software. This software allows you to create, edit, and manipulate your designs in a digital format. Once your design is complete, you need to export it to a compatible file format, such as a DXF, SVG, or PLT file.
Step 2: Load the Vinyl Material
Next, you will need to load the vinyl material into the cutter. Most Summa cutters come with a built-in roll feeder that can accommodate rolls of vinyl material up to thirty inches wide. To load the vinyl, you simply open the roll feeder and slide the vinyl material into place. Make sure you properly align and secure the material.
Step 3: Set Up the Cutter
Before you can begin cutting your design, you must set up the cutter to match your specific material and design requirements. This includes adjusting the blade speed, depth, and pressure to ensure a clean, precise cut. Summa cutters typically feature a user-friendly control panel that allows you to adjust these settings with ease.
Step 4: Send Your Design to the Cutter
Once the cutter is properly set up, you can send your design to the cutter using a USB connection or any other connection. This will depend on the specific model of the Summa cutter you are using. In most cases, you will simply need to select your design file from the software and click 'Send to the cutter.'
Step 5: Cut Your Design
With your vinyl material loaded and your design file sent to the cutter, you are now ready to begin cutting. Summa cutters use a computer-controlled blade that follows the path of your design to cut out the desired shapes and letters from the vinyl material. This process can take anywhere from a few seconds to several minutes, depending on the size and complexity of your design.
Step 6: Weed and Transfer Your Design
After cutting your design, you will need to remove the excess vinyl material to reveal your desired design. This involves carefully peeling away the unwanted vinyl material using a specialized weeding tool, leaving only your design intact. Once your design has been weeded, you can transfer it onto your desired surface using transfer tape or a similar application tool.

In Conclusion
Finally, regularly cleaning and maintaining your Summa cutter is necessary to ensure optimal performance and longevity. This includes cleaning the blade holder, blade, and pinch rollers, as well as regularly lubricating moving parts and checking for any signs of wear or damage.