If you have a car decal or artwork that you need to remove from your vehicle, it can be helpful to know the correct process. These resilient decals are made to be weather-proof and durable, making it difficult to remove them without scratching the glass of your back windshield or damaging the car’s paint.
Whether your decal is made from Avery Dennison vinyl or 3M vinyl, our handy guide to removing decals should clear your vehicle in no time. Cast vinyl decals are durable, but not permanent, which means you don’t need to ride with a decal that no longer makes sense for your vehicle.

Removing From Glass
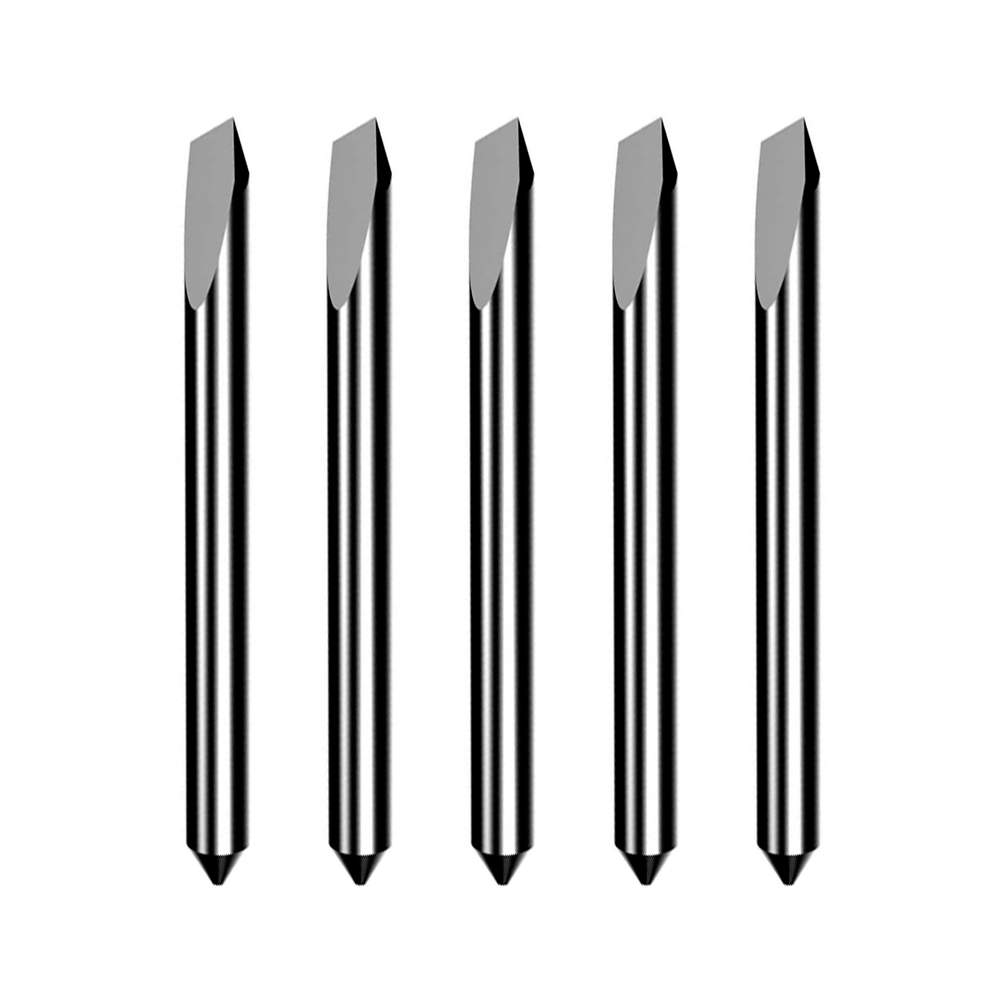
To remove a vinyl decal from your car window, all you need is a window cleaner, a microfiber towel, and a razor blade. Make sure the razor is rust-free and completely clean, as rust and dirt can leave scratches or other imperfections.
If using a razor blade seems intimidating or you don’t have one on hand, a plastic non-marring scraper is a solid substitute, but will require more elbow-grease on your end.
Clean the Glass
The first step is to use your window cleaner on the window you’ll be removing the decal from. Spray it around the area of the decal and wipe it away with the towel. By cleaning the glass, you give the blade (or scraper) a smooth surface to glide across, minimizing risk for scratches and chipping.
Work the Blade or Scraper
Next, take your blade or scraper and hold it at a thirty to forty degree angle at the outside corner of the decal. Slowly work the blade inwards towards the middle of the decal. If you’re using a scraper, you will likely need to use more force and repeat this as necessary. We recommend applying stop-and-go pressure to gently lift the decal from the glass.
Slowly, the decal will begin to separate from the window. Don’t worry if residue from the adhesive remains on the glass–this is completely normal and can be removed after the initial decal is removed. Continue this process as needed until the decal is fully separated from the glass.
Finishing Touches
Once the decal is removed, use your window cleaner and spray it on the affected area again. Wipe away the remaining adhesive with your cloth and buff out the area until the surface is smooth and dry.
Removing From the Body of the Car
Before we begin, it’s important to note that glass is far more resilient than paint. Removing a decal from autobody paint is a delicate process to avoid costly damages, such as chipping, peeling, and scratching the paint. Instead of using window cleaner, we recommend using soap and water as it is less harsh on the material beneath the decal.
We also recommend switching out the razor blade for a softer scraping tool, such as a credit card or a putty knife. Sharp objects and metal objects can cause damage that will send you straight to an auto body repair shop to remedy. You will also need a hair dryer to aid with peeling the decal off.
Prep the Area
Clean the area around the decal with soap and water and your microfiber cloth or towel. Just like with removing a decal from glass, this minimizes the chances of dirt or oils interfering with the removal process.
Use the Hairdryer
Next, heat the decal with a hairdryer. The heat from the dryer will cause the decal to lose its adhesion, resulting in the edges shrinking or furling. This will make it easier to pull off because the adhesive compound is breaking down before you even begin scraping!
Scrape Away
Use your putty knife or credit card to start scraping from the outer edges of the decal and work your way towards the middle. If the decal has a spot that has been lifted and curled from the hairdryer, we recommend you start scraping in that spot.
Be slow and gentle in this step, and it’s completely okay to repeat this step as needed. Remember, it’s likely that there will be residual adhesive left behind as you remove the decal. Repeat this step until the decal has been completely lifted from the body of the car.
Remove the Adhesive
While you can certainly use one of the many glue removal products on the market to remove this residual adhesive, you could also use soap and water. Wipe down the area with soapy water again and apply more pressure to rub it away.
Dry the area once the residue has been removed. The place where the decal used to be will likely be less faded than the rest of the car’s paint due to the lack of weather and sun exposure, but it shouldn’t be noticeable from a normal distance of several feet.

Next Steps
Looking for more tips on how to use adhesive vinyl or what’s the best printer ribbon for your business? Check out our other posts!