We are going to take our chances and bet that you have used double-sided adhesive tape in one way or another. Have you ever come across a beautifully wrapped gift with no trace of tape, or have you seen a print or graphic seamlessly stuck onto a wall with no nails or pins? Both these things have one thing in common—the use of convenient and versatile double-sided adhesive tape, one of the most commonly used premium sign supplies.

Most people tend to hear the term ‘double-sided adhesive tape’ and get overwhelmed; even transfer tape for adhesive vinyl can be tricky to use at first. When it comes to sign supplies, it can get confusing. From learning how to cut with specialized equipment to figuring out if application tape is the same as transfer tape, there’s a lot of information to pick up.
Using Double-Sided Adhesive Tape
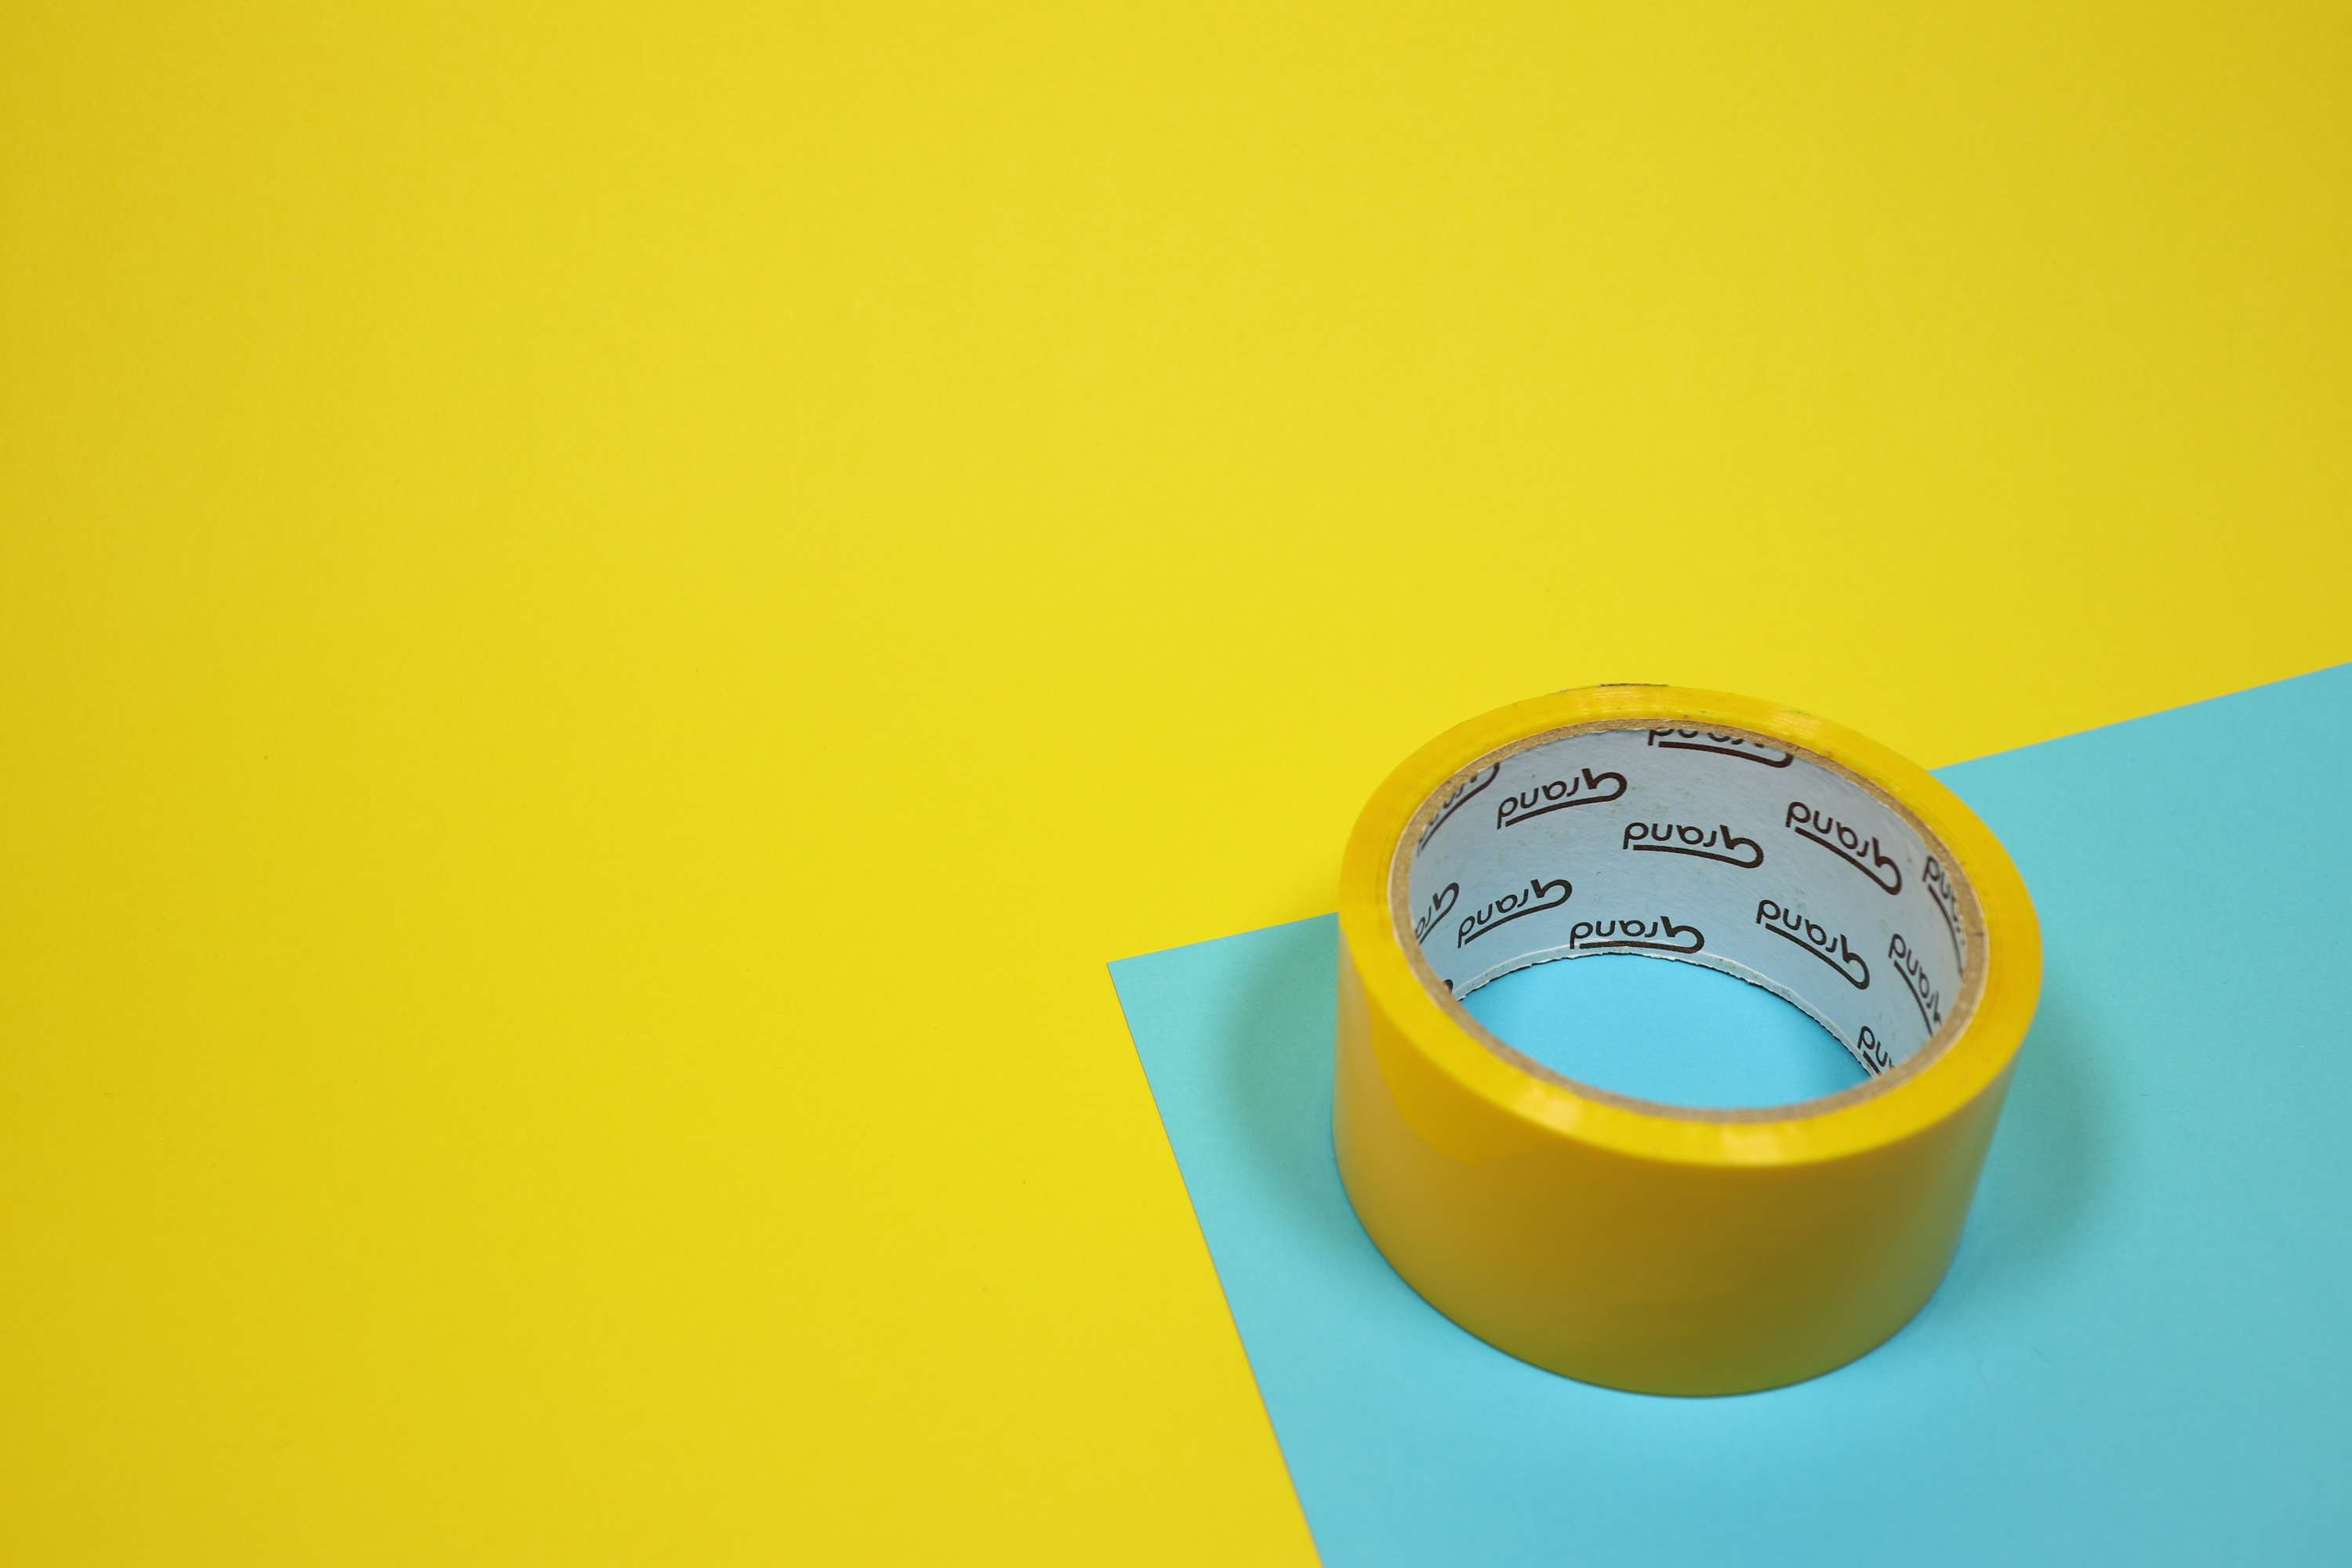
Double-sided adhesive tape—sometimes referred to as ‘double-sided tape’—is known to be a perfect remedy for any project that requires bonding two surfaces together. Omit the hardware, and rely on double-sided adhesive tape instead.
Step 1
When it comes to using double-sided adhesive tape to bond two surfaces together, be sure to clean both surfaces. Any dust or debris can affect the process. Adhesive tape needs to stick onto a clear and dry surface.
Step 2
Determine the amount of tape that you will need to use. Most double-sided adhesive tapes come in rolls, giving you the freedom and flexibility to choose how much tape you want.
Step 3
Once you are ready, peel the protective backing paper from one side of the tape. It is important that you keep the tape from coming into contact with anything, as even the natural oils on your fingers can affect the performance of the tape.
Step 4
Align the tape with one of the surfaces you are working with. Be sure to press down on the tape firmly to ensure that it sticks properly.
Step 5
Peel off the other backing paper. With the adhesive side exposed, take the surface and align it as closely as you can with the other surface you wish to bond. Again, be sure to press down on it firmly to ensure they stick to each other.
Step 6
Give it a few minutes to sit–this will ensure that the tape has fully sealed the two surfaces together.

Keep in Mind
Some surfaces will bond to each other with ease, while others might give you more difficulty. In some instances, you might find that the use of a primer will aid tremendously in the application of double-sided adhesive tape.
Of course, for guidance when it comes to using double-sided tape, no matter what your project might be, AirMark has you covered. Check out our services and products today, and we’ll help make sure your next project goes as smoothly as possible!