When it comes to working with vinyl and vinyl sign supplies, application tape, also known as ‘transfer tape,’ is your best companion. Application tape is a clear and thin adhesive material that helps you transfer vinyl from a backing paper to its final surface with precision. Add in the fact that you can get both paper application tape and plastic transfer tape, and you can understand why it is such a versatile tool.
When it comes to applying application tape to vinyl and transferring the vinyl to its final destination, however, some people start to worry about how to do so successfully. Don’t worry–we’ve got you covered with a handy guide!

Using Application Tape
Step 1
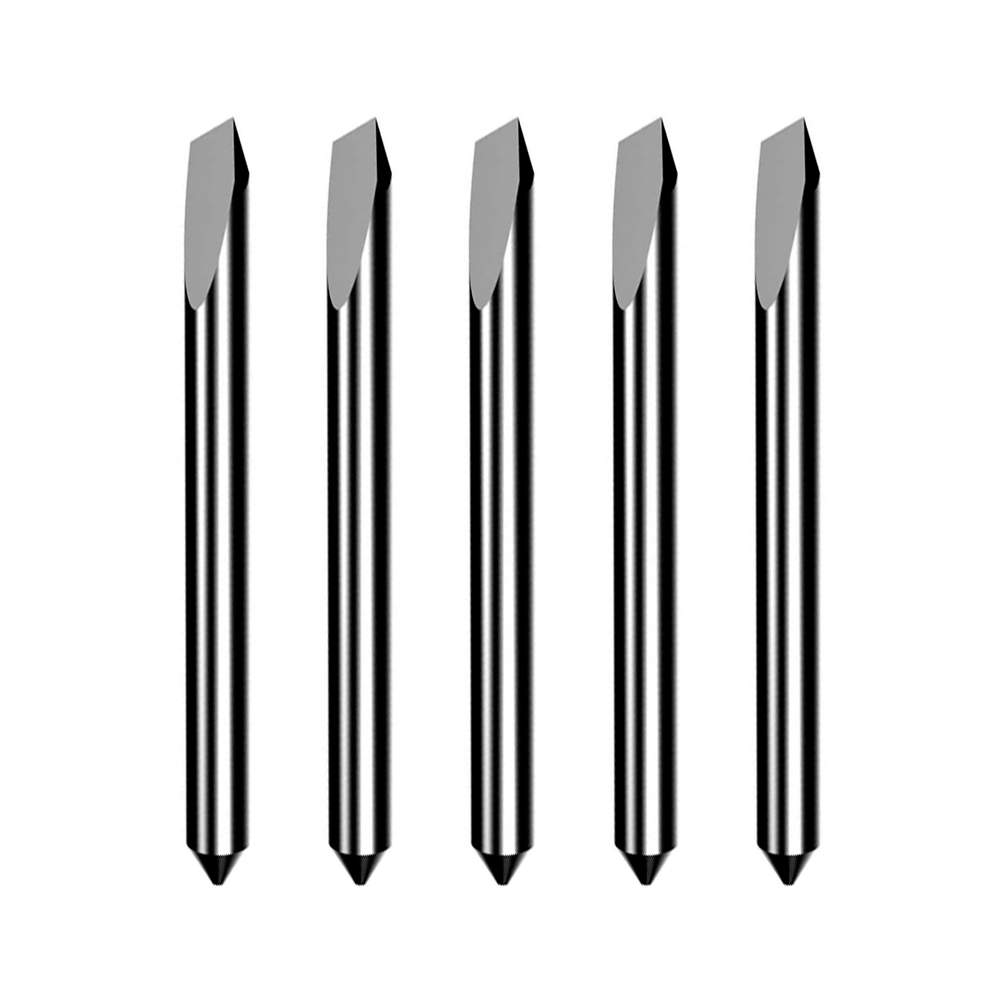
The application process begins with cutting the vinyl. Be sure to cut out the design as precisely as possible. Once you have cut out the design, you will need to weed out any excess material you do not want. The more detailed you are in the ‘weeding’ process, the easier the application becomes.
Step 2
Once you have your design cut out and cleaned up, your next task is to place the application tape over the design. As you do, be sure that the tape covers the entire design. Use a credit card, ruler, or other smoothing tool to smooth the tape over the vinyl, and rid it of any wrinkles or bubbles.
Step 3
Once you are confident that the tape is perfectly covering the design, you are ready to begin the application process. Slowly and gently peel the backing paper off the vinyl. We want to emphasize the importance of doing this as carefully as possible, as you do not want to distort or stretch your vinyl. When you peel off the backing paper, you should see the vinyl attached to the application tape.
Step 4
Carefully align the vinyl design with the surface you wish to apply it to. Ensure that it is perfectly lined up with how you envision it. Once you are satisfied with the alignment, go ahead and press the design onto the surface. Feel free to use your credit card or ruler again to ensure that the vinyl is pressed onto the surface and free of any wrinkles or bubbles.
Step 5
Slowly and carefully remove the application tape from the surface. This should expose the vinyl design perfectly in place of your choosing.
Step 6
If you wish to go the extra mile, you can grab a hair dryer or heat gun and blast a bit of heat onto the vinyl design to lock the design to the surface.
In Conclusion
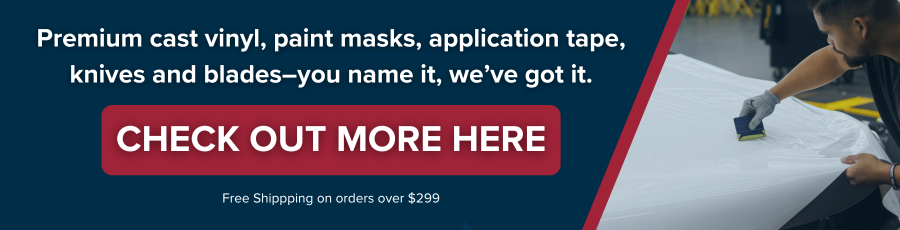
The higher the quality of the tape you use, the better your results. Take the time to research your options, and invest in a high-quality and high-performing tape. Don’t hesitate to reach out to us at AirMark for assistance with finding the best transfer tape for your needs, as well as any advice you may need for your upcoming project!